Why offload job running?
After you’ve built an invariant testing suite that’s been bootstrapped by Recon you’ll need to ensure that you’ve run a sufficient number of test transactions through each invariant to say with high confidence that the invariant holds in every situation. This can mean running your chosen fuzzer for 500k-1M runs for each invariant, which takes up significant computational resources if it’s done on your local machine and makes it difficult to parallelize multiple runs on invariants for different target contracts.
Using Recon’s Job running feature you can offload multiple of these jobs to Recon’s cloud service so you don’t burn out your computer and can run long-term jobs without worrying about something failing at the last minute because of something you did on your local machine. You can even use webhooks to automatically run jobs to automatically check your invariants every time you push changes to your repository!
How to run a job
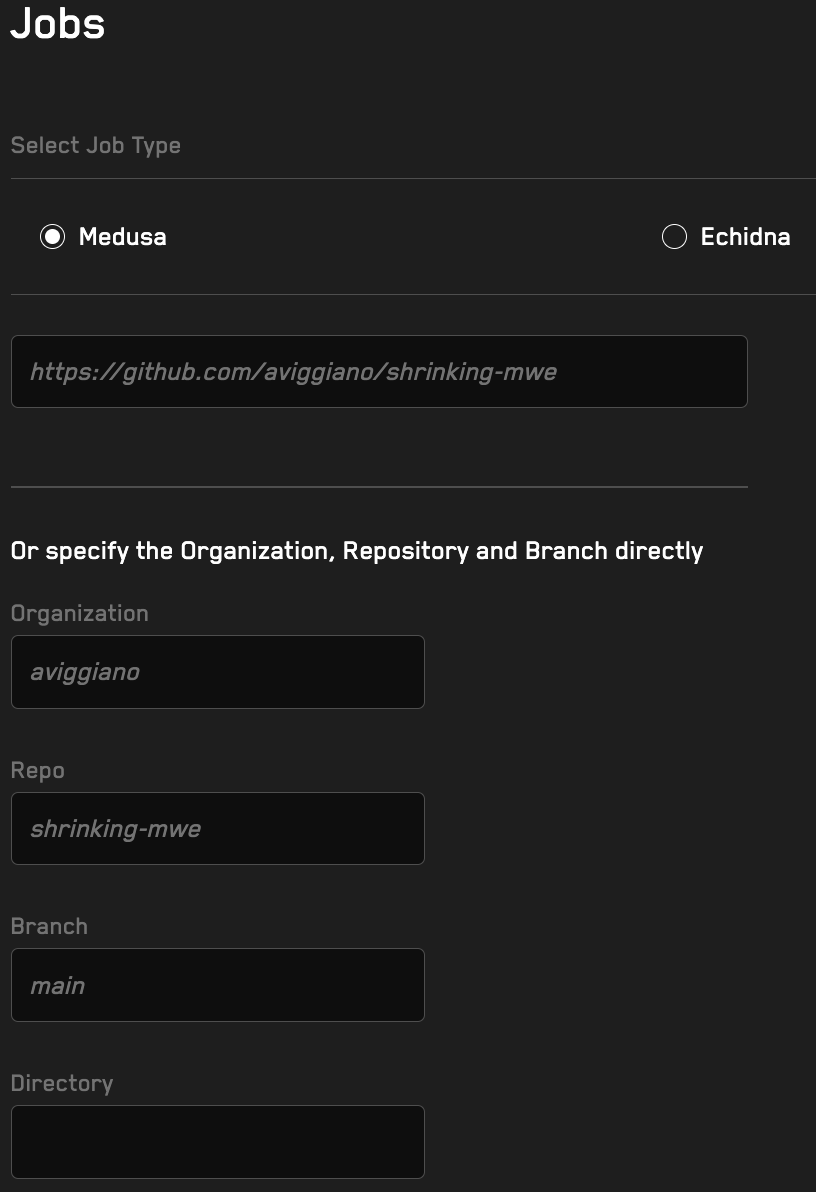
Running a job with Recon using either Echidna or Medusa requires first navigating to the Job page using the left-hand side menu. After doing so you’ll be greeted by two radio buttons with the option to choose the fuzzer you’d like to use:
To run a job with either fuzzer you’ll need to have created a test contract and a corresponding configuration file. The default test contract when using the Recon scaffolding is CryticTester and the configuration file names are their default of echidna.yaml and medusa.json. The Recon harness takes advantage of the fact that Echidna and Medusa use the same API and so test files follow identical formats, this means that for running a job the only thing that needs to change are some configurations.
After selecting the fuzzer to run our job with we just add the GitHub repository url which auto-populates the left-hand side form:

As with building a test harness using Recon, if the repository’s root directory isn’t the location of the source contract files, this needs to be specified in the Directory field.
The subsequent steps are specific to the fuzzer being used: either Medusa or Echidna.
Medusa
The setup for Medusa is rather simple, with only two required parameters:
Medusa config filename
This is the name of the json configuration file used by Medusa. Since Recon uses the default name given by medusa for configuration files this will be named medusa.json for projects using a scaffolding created by Recon unless it’s been renamed.
Test Time Limit
Test Time Limit specifies how long to run the fuzzer for in the job. The default is set to 3600 seconds (1 hour).
Custom pre-install process (optional)
Custom pre-install process is used if a project requires using yarn to install packages before running tests.
Echidna
Running a job with Echidna requires providing a bit more information upfront since Echidna configuration files aren’t as robust as Medusa’s.
The following form fields are required before we can run a job through Recon with Echidna:
Path to test contract
This specifies where the test contract being used is located, this can be easily found on GitHub by navigating to our test contract and use the copy path option in the menu.
Echidna config filename
If using the default option for the Echidna configuration file we fill the Echidna config filename field as echidna.yaml.
Tester Contract Name
For this field we just specify the contract name for the contract we want to run Echidna on whose path we specified above.
Corpus Dir (optional)
The Corpus Dir field allows us to specify the directory to save the corpus that’s output by Echidna for the job in a different location than what has been specified in the configuration file.
Test Limit (optional)
The Test Limit field allows us to override the testLimit value that’s been set in the Echidna configuration file. Leaving this blank defaults to the Echidna configuration file value, if the value is not set in the configuration file Echidna will use its default 50k transaction sequences here.
Custom pre-install process (optional)
Custom pre-install process is used if a project requires using yarn to install packages before running tests. Since the example project doesn’t require this we leave it to its default setting of No preprocess.
Job Outputs
View Details
After running a job it will initially display in the All Jobs section with the label View Details which will initially show only the following Stats for Nerds, a json file of the job information sent to the Recon cloud service
After the job has completed its run the View Details page will convert into something resembling the following image, where Echidna/Medusa logs are displayed on the left-hand side and the coverage report on the right-hand side
Additionally the Share Job Results button allows you to easily share the logs of your job with collaborators by generating a shareable link:
This allows anyone to view a call sequence that is output by the fuzzer, without needing a Recon account:
The Download Corpus button allows you to easily replicate call sequences that break an invariant locally without having to wait for your fuzzer to find the breaking call sequence all over again.
Conclusion
In this tutorial we’ve seen how you can run jobs using Recon’s cloud service and share the results with other members of your teams. This frees up local computational resources so you can continue developing locally and develop more tests while others run continuously.
If you've made it this far you value the security of your protocol.
At Recon we offer boutique audits powered by invariant testing. With this you get the best of both worlds, a security audit done by an elite researcher paired with a cutting edge invariant testing suite.
Sound interesting? Reach out to us here:


